When it comes to firearms training, there’s one hard truth every shooter eventually learns: if you’re not measuring your performance, you’re just guessing.
Whether you’re new to the range or you’ve been drilling for years, knowing how to track your shooting progress over time is a game-changer. It's the difference between wasting rounds and building real, measurable skill.
In this tactical guide, we’ll break down the best ways to document, measure, and refine your shooting over time—using simple tools like paper shooting targets, proper range routines, and proven training tips. Plus, we’ll spotlight a few essential paper targets from Axle Targets that can take your practice sessions to the next level.
Let’s dig in.
Why Tracking Progress Matters in Firearm Training
Before we dive into techniques, let’s hit the “why.”
Shooting isn’t just about pulling the trigger. It’s about consistency, control, and accuracy under pressure. Without tracking your performance, it’s almost impossible to know:
-
If your accuracy is improving
-
Whether you’re consistent under different conditions
-
What your shot groupings look like over time
-
Which drills or training methods are actually helping
Progress tracking transforms your time at the range from casual practice into purposeful training.
Use a Shooting Journal or Digital Tracker
The first step to tracking shooting performance is creating a repeatable process. This starts with either a physical shooting logbook or a digital app that allows you to record:
-
Date, location, and conditions (wind, light, etc.)
-
Firearm and ammo used
-
Target type
-
Distance
-
Drill or exercise performed
-
Shot placement notes
-
Photos of your targets
💡 Pro Tip: Snap a photo of each completed target. Keep a digital folder labeled by date or drill type to easily spot trends.
By consistently writing things down, you start to develop data-driven insight into your shooting.
Establish Baseline Drills to Measure Against
To improve, you first need a baseline. Start with a few fundamental drills that you can repeat every time you hit the range. For example:
Common Benchmark Drills:
-
The 10-shot group at 10 yards (for precision)
-
1-second draw and fire at 7 yards (for speed and control)
-
Failure to stop drill (2 to the body, 1 to the head)
-
Bill Drill (six shots as fast as possible at close range)
These can be repeated regularly using the same targets—such as the B8 Cluster Target, which we’ll cover more below—to gauge progress over time.
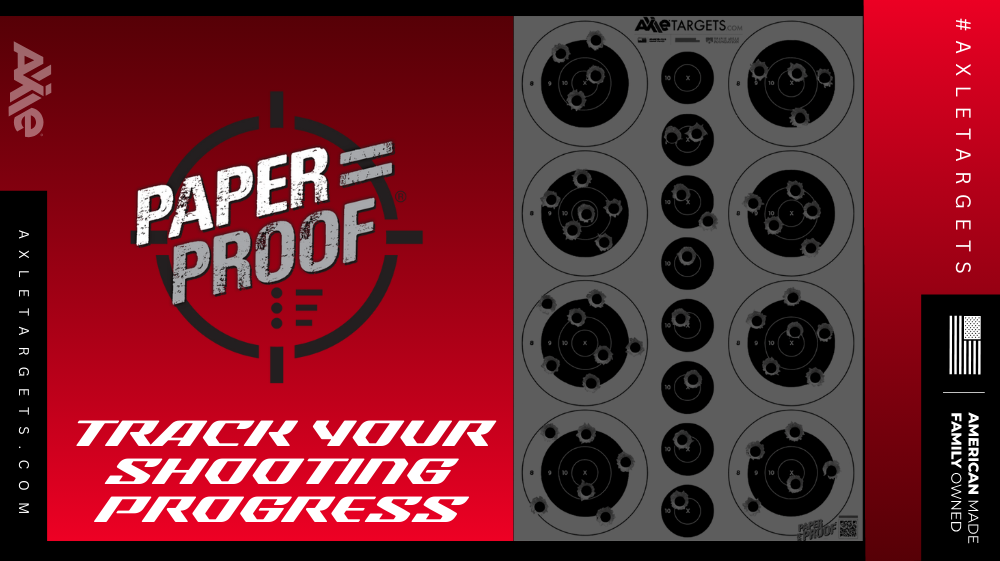
Leverage Paper Targets for Clear Visual Feedback
Paper targets aren’t just old-school—they’re still one of the most effective tools for tracking your accuracy and improvement over time.
Unlike reactive or steel targets, paper targets show you everything: your group size, shot placement drift, and patterns that hint at trigger control or sight alignment issues.
Why Paper Shooting Targets Work:
-
Provide instant visual feedback
-
Allow for grouping measurement in inches
-
Easy to archive or photograph for long-term tracking
-
Help analyze shot-by-shot performance
At Axle Targets, we offer premium-quality paper targets designed specifically for training and progress tracking. Let’s dive into a few that are perfect for the job.
🎯 Product Spotlights – Axle Targets for Measurable Progress
1. B8 Cluster TargetThis fan-favorite is a go-to for accuracy drills and high-precision feedback. Why It’s Great for Progress Tracking:
💡 Use the B8 Cluster for benchmark drills like 10-shot groups or draw-and-fire tests at 10 yards. Archive each sheet or photo to track improvement in your grouping size. |
 |
 |
2. K-Reduction TargetLooking to push your accuracy limits? The K-Reduction makes you work harder with reduced-size scoring zones that simulate longer distances. Features & Benefits:
This is an ideal target to use monthly for testing how your fundamentals hold up under tighter tolerances. If you can master this one, you’re making real progress. |
3. 2” Drill TargetPrecision shooters, this one’s for you. Each 2” circle forces you to slow down, dial in, and place your shots with purpose. Great for dot torture drills, sight picture refinement, and trigger discipline. Why It’s Powerful:
Try starting each range session with 5 warm-up shots per circle. Watch your consistency increase over time. |
 |
Pro Tips for Better Shooting Data and Training Efficiency
If you want to get the most out of your practice sessions and see measurable growth, try implementing these range-tested strategies:
🔁 Repeat Drills Every Range Visit
Don’t just make every session random. Create a repeatable structure with 2–3 go-to drills you run every time. This way, you can compare results week over week.
📸 Photograph Your Targets
Snap a photo of every target—label it with the date, distance, and drill type. This allows you to create a visual timeline of your progress.
🧠 Analyze Your Data
Look for trends in your journal and targets:
-
Are your shots consistently low left? Could be trigger control.
-
Is your grouping tighter over time? You’re improving.
-
Are your times getting faster with equal or better accuracy?
🧰 Use the Right Tools
Stick with quality paper targets that actually help you analyze your performance. Targets like the B8 Cluster and K-Reduction aren’t just fun—they’re functional tools for serious shooters.
Beyond the Range: Dry Fire and At-Home Tracking
Progress doesn’t stop when you leave the range.
You can also log performance from dry-fire sessions at home using scaled-down paper targets taped to the wall. Axle Targets' designs like the 2” Drill Target work especially well for this type of training.
-
Use a shot timer app to simulate pressure
-
Practice draw and trigger pull from concealment
-
Track consistency in movement and presentation
Combine this with live-fire data for a complete picture of your training progress.
Wrapping Up: Your Next Shot Starts with Tracking
If you’re serious about improving your shooting, don’t leave progress up to chance. Tracking your shooting progress over time is essential—and with the right drills, tools, and mindset, it’s totally doable.
Start small: choose a couple benchmark drills, grab a notebook or app, and print a stack of Axle Targets like the B8 Cluster, K-Reduction, and 2” Drill Target.
Stick to the process. Photograph your work. Review your patterns. And most importantly—keep pushing forward.
Your target doesn’t move. But your skills should.